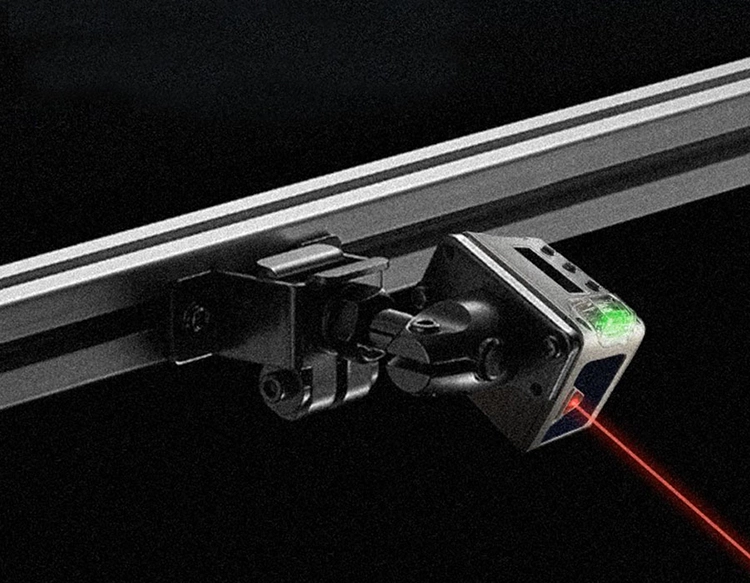
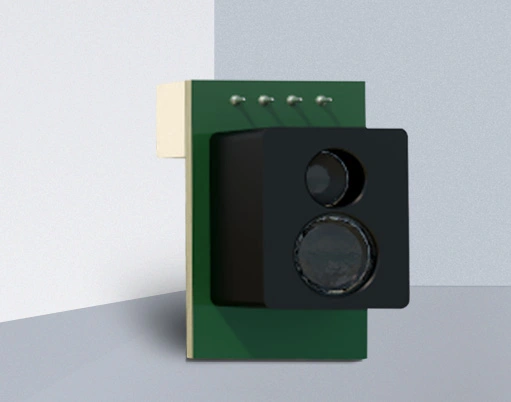

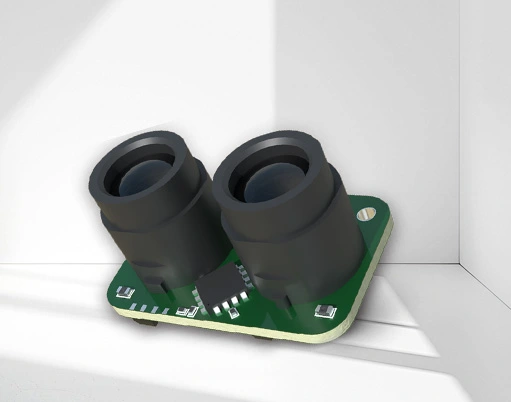
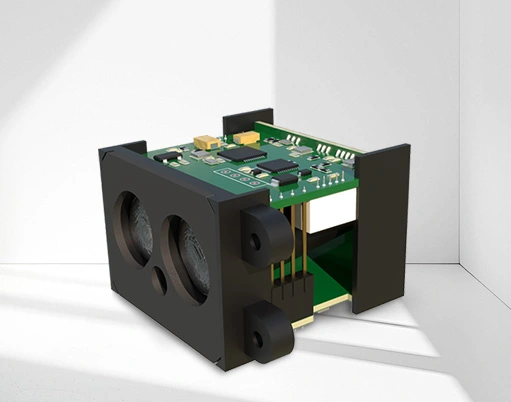
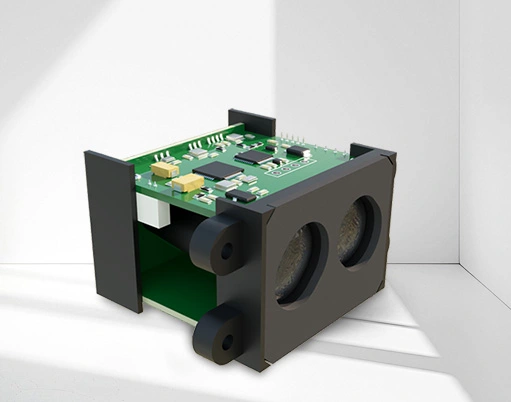


Arduino laser sensor modules have become essential tools for hobbyists, students, and engineers working on projects that require precise distance measurement, object detection, or motion sensing. These modules typically consist of a laser emitter and a receiver, working together to calculate distances or detect objects by analyzing the reflection of laser light. Compared to ultrasonic or infrared sensors, laser-based modules offer higher accuracy and faster response times, making them ideal for applications like robotics, security systems, and industrial automation.
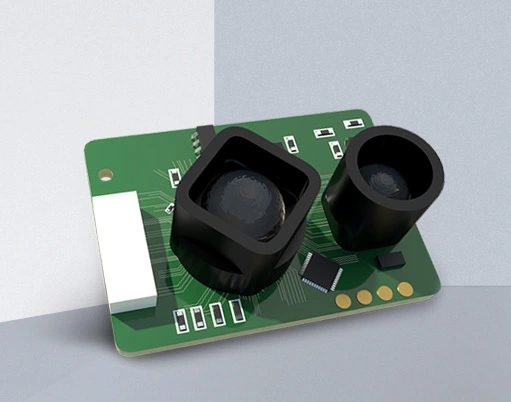
To get started with an Arduino laser sensor module, you’ll need an Arduino board (such as Uno or Nano), the sensor module itself, jumper wires, and a breadboard for prototyping. Most laser sensor modules communicate via digital or analog signals, with some advanced models supporting I2C or UART protocols for more complex data transmission. Beginners should first connect the module’s VCC pin to the Arduino’s 5V pin, GND to GND, and the signal pin to a digital or analog input pin, depending on the module’s specifications. Always refer to the datasheet or product manual for exact wiring instructions to avoid damaging components.
Once connected, you can write a simple Arduino sketch to read data from the sensor. For example, a basic code snippet might use the analogRead() function to measure distance values, which can then be converted to centimeters or inches using calibration formulas provided by the manufacturer. Many modules also include libraries that simplify coding—just install them via the Arduino IDE’s Library Manager. Testing the setup is crucial: point the laser at a surface and monitor serial output to ensure accurate readings. Common issues like interference from ambient light can often be resolved by adjusting the sensor’s sensitivity or adding a filter.
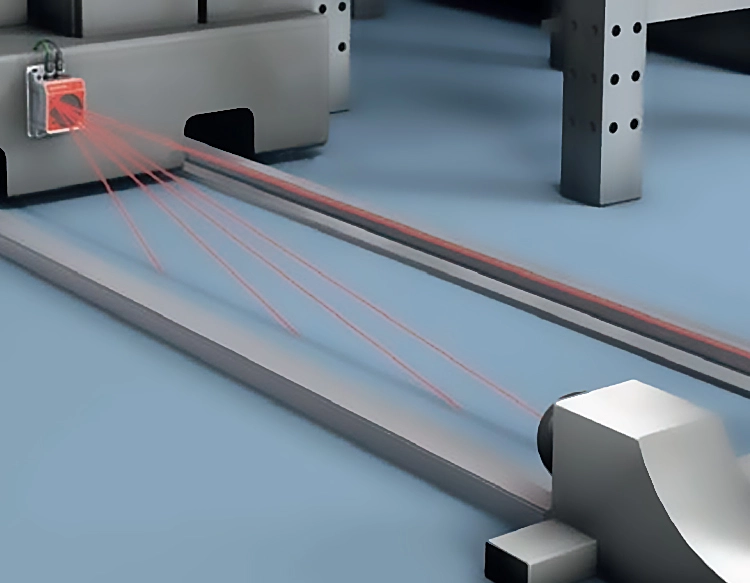
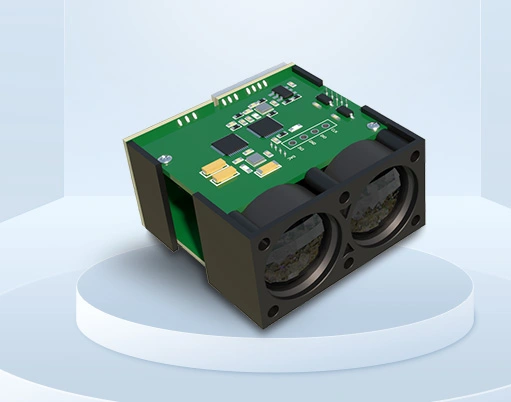
Practical applications of Arduino laser sensor modules are vast. In robotics, they enable obstacle avoidance and navigation by detecting nearby objects. For home automation, they can trigger lights or alarms when motion is sensed. In DIY projects, users have built laser harp instruments, precision levelers, and even 3D scanners. When selecting a module, consider factors like range (typically 2cm to several meters), accuracy (often within millimeters), and power requirements. Popular models include the VL53L0X Time-of-Flight sensor and the KY-008 laser transmitter paired with a receiver module.
To optimize performance, keep the laser lens clean and avoid direct sunlight, which can cause false readings. Calibrate the sensor regularly using known distances, and use stable power sources to prevent voltage fluctuations. For long-range detection, ensure the target surface is reflective enough—matte or dark materials may reduce accuracy. Community forums and online tutorials offer troubleshooting tips, such as adding capacitors to reduce noise or using interrupts for real-time detection.
In summary, Arduino laser sensor modules provide a reliable and accurate way to integrate sensing capabilities into projects. With straightforward wiring and coding, even beginners can quickly implement features like distance measurement or object tracking. As technology advances, these modules are becoming more affordable and accessible, opening up new possibilities for innovation in electronics and programming. Start by experimenting with simple setups, and gradually explore advanced applications to fully leverage the potential of laser sensing in your creations.